Advanced Security Measures for NodeJS Authentication

As more and more businesses prefer using NodeJS to create their web applications, the need for robust security measures is more significant than ever. NodeJS has some great authentication mechanisms. However, your business could be at risk if these mechanisms aren't implemented correctly.
In this article, we will discuss advanced security measures for NodeJS authentication. We will cover how to protect our applications from unauthorized access and how to set up secure authentication mechanisms. Let's get started!
Why We Need Secure Authentication
One of the most crucial things for developers to remember building web applications is the value of secure authentication. Without proper authentication, unauthorized users can find a way to access your application and steal sensitive data. This could lead to major security breaches and serious financial losses for your business.
Thus, it is important to implement strong authentication measures in your NodeJS application. By doing so, you can ensure that only authorized users are able to access your data. This protects your business from costly security breaches and keeps your data safe and secure.
There are actually many authentication services out in the market, like Firebase Auth, Amazon Cognito, Auth0, and Frontegg. Each authentication service provides a similar set of features for user login service management, with slight variations in the user management and security handling features.
For this article, we are going to look at implementing secure NodeJS authentication using Frontegg. Frontegg is a cloud-based authentication and authorization service that helps businesses protect their data and secure their applications. It provides various features, including user registration and management, passwordless authentication, and social login.
Frontegg also offers robust security measures, including 2-factor authentication and IP restrictions. This ensures that only authorized users are able to access your data. The service has a free version which we will be using for the demonstration today.
SaaS Modules
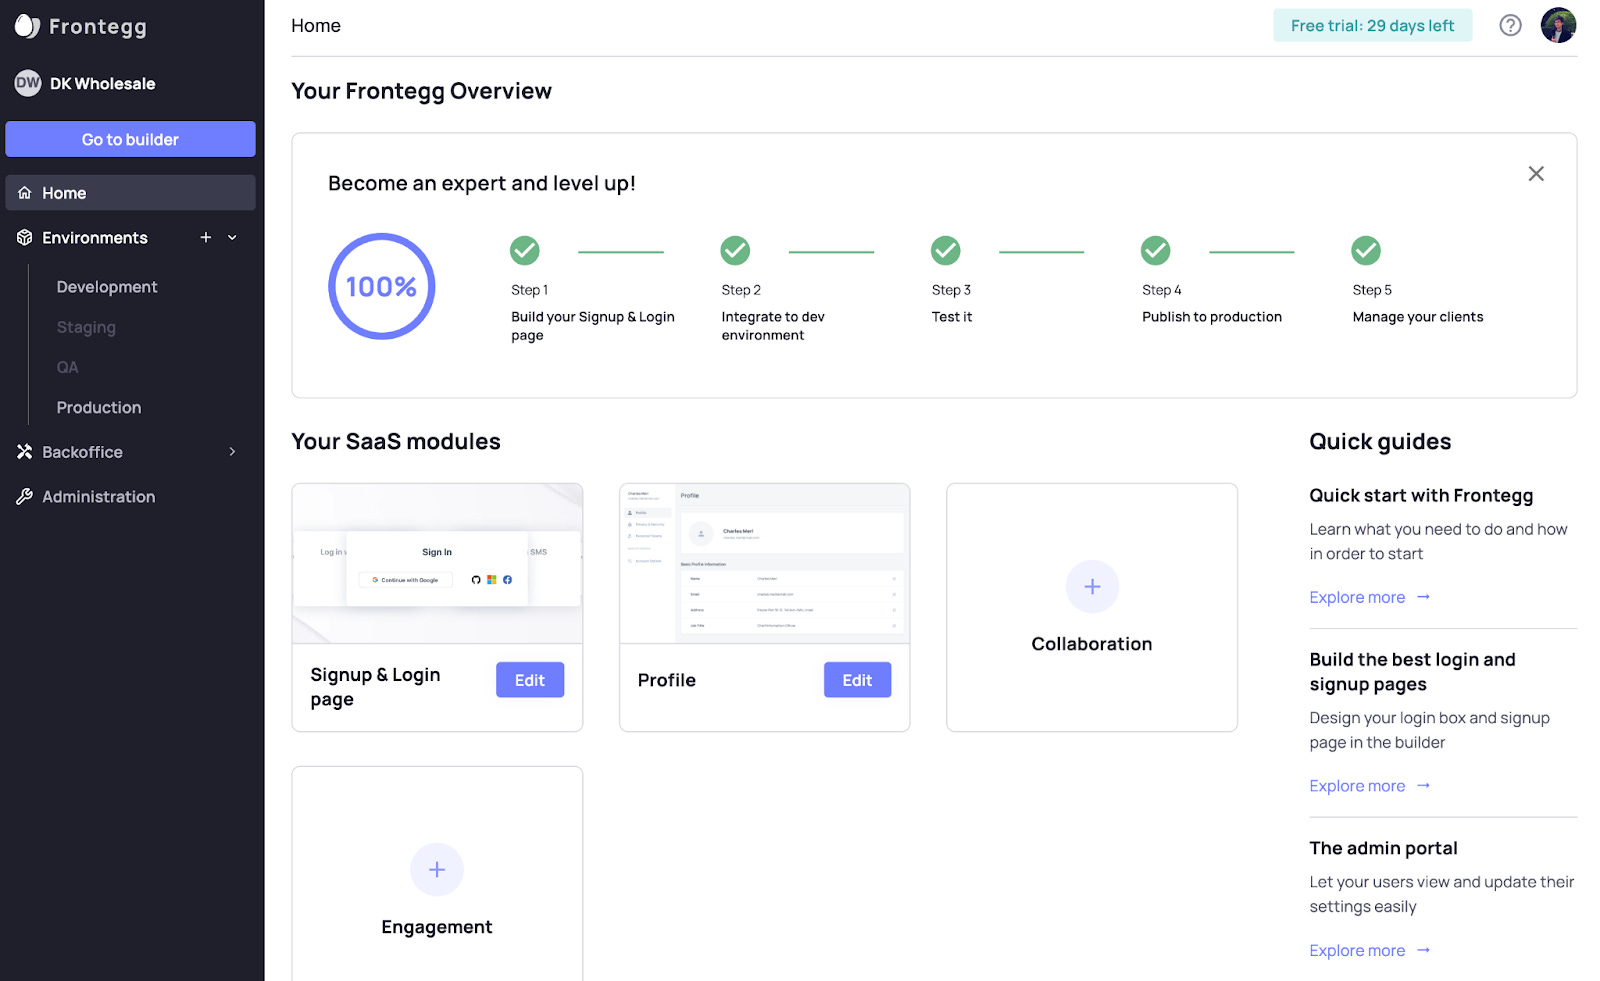
After you sign up on Frontegg, we'll start by setting up the following SaaS modules: Login Box, Profile, Collaboration, Engagement, and Monetization. When you move to the Experience view, the page will display all the modules with previews.
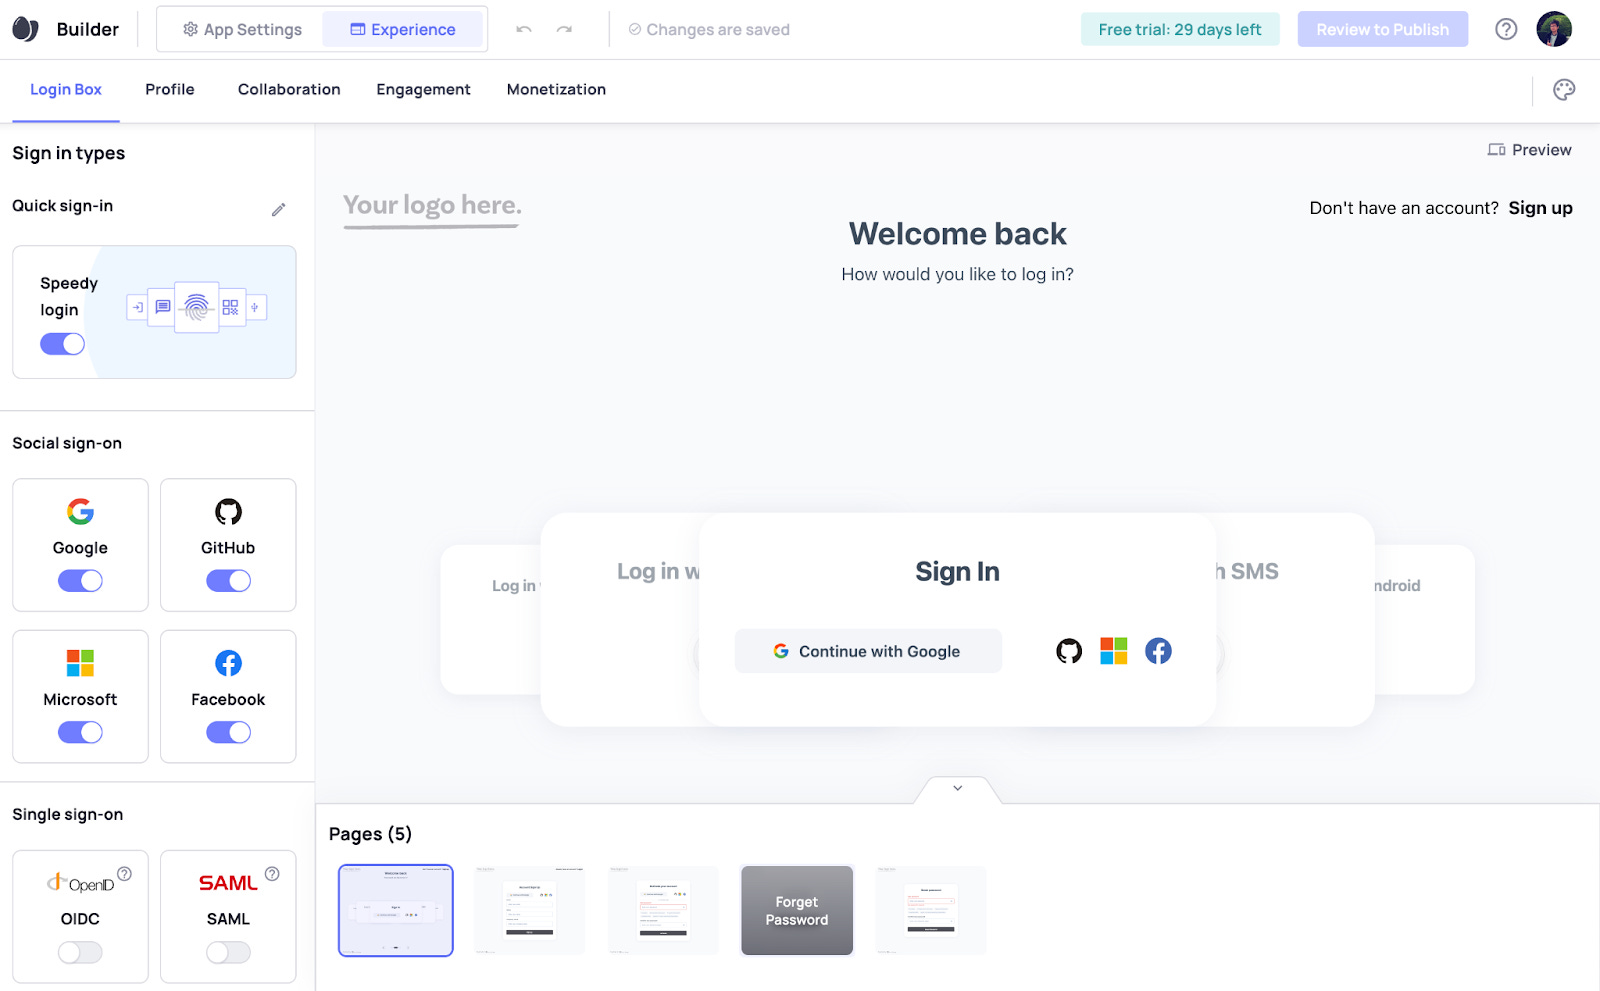
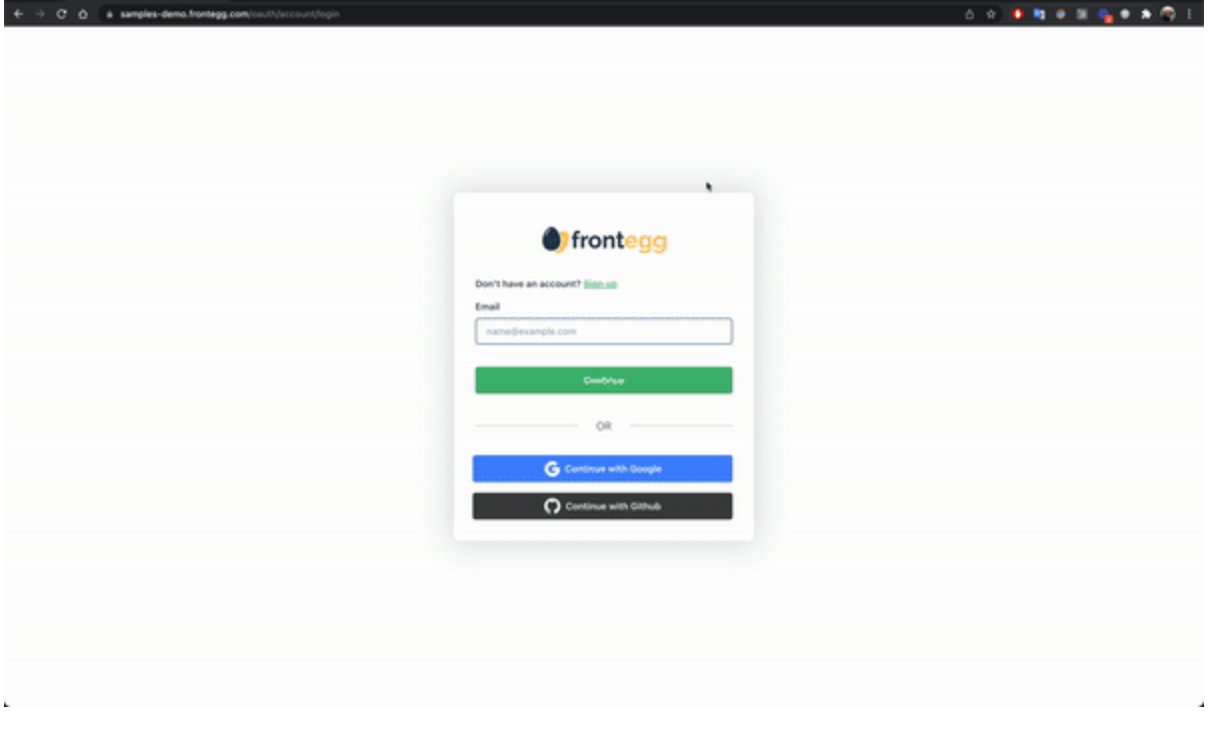
Login Box
As you can see from the screen above, it provides an option for quick sign-in and covers all common social login and business-level login service integration options, including OpenID and SAML. It also covers all situations for login: sign-in, sign-up, activate account, forgot password, and reset password.
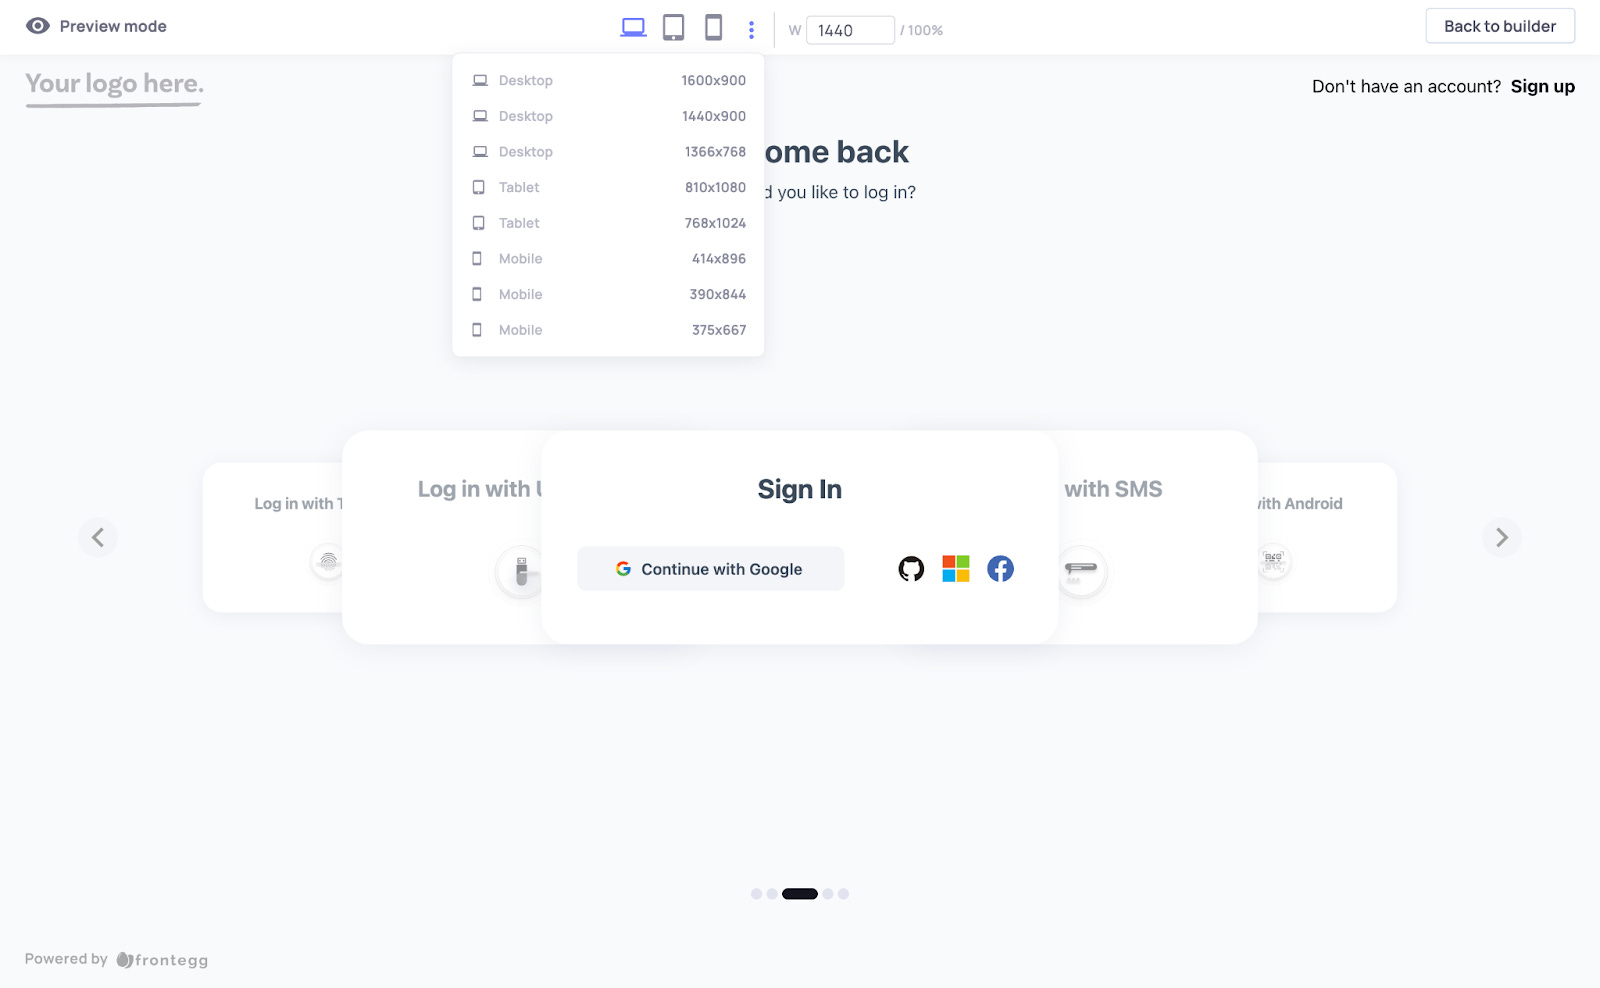
On preview mode, it covers all device previews, which is pretty handy.
In my opinion, Frontegg might be slightly complex for beginner users but will be critically valuable for enterprise-level clients. The start guide they provide on their website is very helpful, especially for new users.
Development Intergation
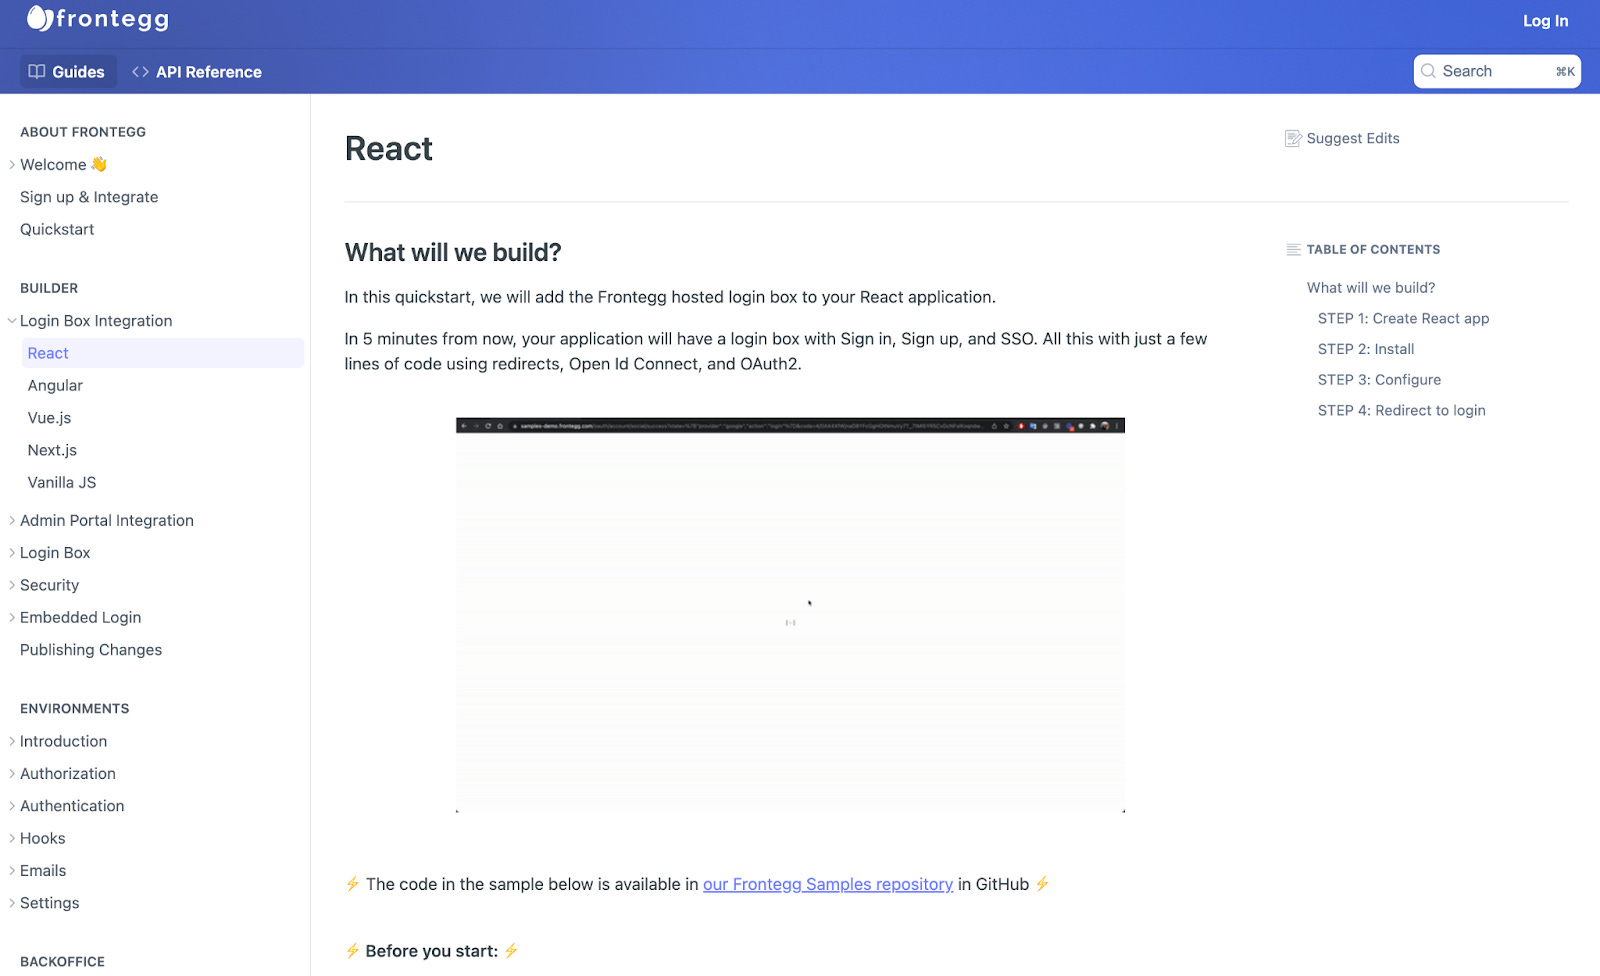
The great thing about Frontegg is that it covers almost all development ecosystems, including React, Angular, Vue, Next, and Vanilla.
I will use React as an example to provide you with a step-by-step guide.
Create a React app:
npx create-react-app app-with-frontegg
cd app-with-frontegg
Install:
npm install @frontegg/react react-router-dom
Configure:
import React from 'react';
import ReactDOM from 'react-dom';
import App from './App';
import './index.css';
import { FronteggProvider } from '@frontegg/react';
const contextOptions = {
baseUrl: 'https://[YOUR_SUBDOMAIN].frontegg.com',
clientId: '[YOUR-CLIENT-ID]'
};
const authOptions = {
// keepSessionAlive: true // Uncomment this in order to maintain the session alive
};
ReactDOM.render(
<FronteggProvider contextOptions={contextOptions} hostedLoginBox={true} authOptions={authOptions}>
<App />
</FronteggProvider>,
document.getElementById('root')
);
Redirect to login:
import './App.css';
// import { useEffect } from 'react';
import { ContextHolder } from '@frontegg/rest-api';
import { useAuth, useLoginWithRedirect } from "@frontegg/react";
function App() {
const { user, isAuthenticated } = useAuth();
const loginWithRedirect = useLoginWithRedirect();
// Uncomment this to redirect to login automatically
// useEffect(() => {
// if (!isAuthenticated) {
// loginWithRedirect();
// }
// }, [isAuthenticated, loginWithRedirect]);
const logout = () => {
const baseUrl = ContextHolder.getContext().baseUrl;
window.location.href = `${baseUrl}/oauth/logout?post_logout_redirect_uri=${window.location}`;
};
return (
<div className="App">
{ isAuthenticated ? (
<div>
<div>
<img src={user?.profilePictureUrl} alt={user?.name}/>
</div>
<div>
<span>Logged in as: {user?.name}</span>
</div>
<div>
<button onClick={() => alert(user.accessToken)}>What is my access token?</button>
</div>
<div>
<button onClick={() => logout()}>Click to logout</button>
</div>
</div>
) : (
<div>
<button onClick={() => loginWithRedirect()}>Click me to login</button>
</div>
)}
</div>
);
}
export default App;
Try it now!
You will see a button that says “Click me to login”. Click and you will see the login page you created with Frontegg.
Conclusion
Frontegg provides fairly advanced features within the authentication domain, including quick setup, user management, security handling and industrial standard support. While it is not beginner friendly, it does offer intermediate users some truly advanced-level features. And most importantly, it speeds up the processes so much that it makes incorporating these complex features a much simpler task.
You may ask: Does a fresh new e-commerce store startup really need to incorporate such complex management? Well, maybe. It all depends on how much time and effort you are willing to invest at this stage of your business. Frontegg could be really helpful for setting you up for the long haul.